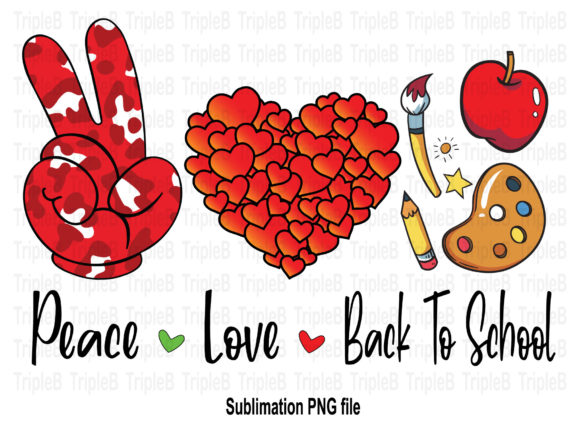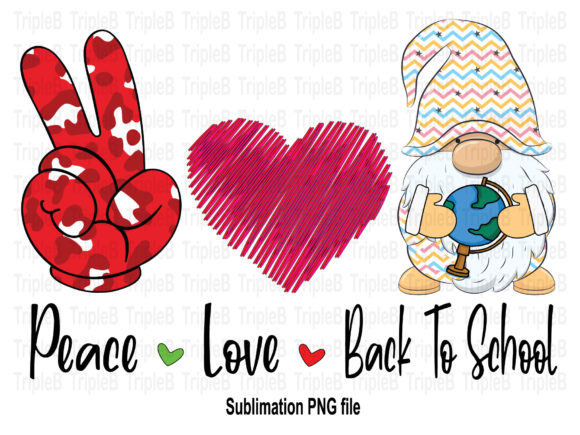
Peace Love Back to School Sublimation 3: What to Know Before You Use These Designs
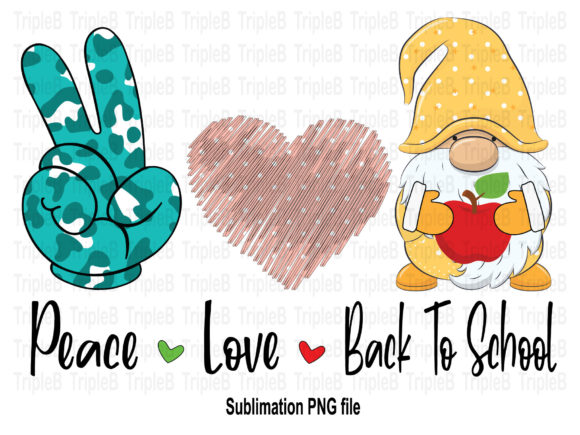
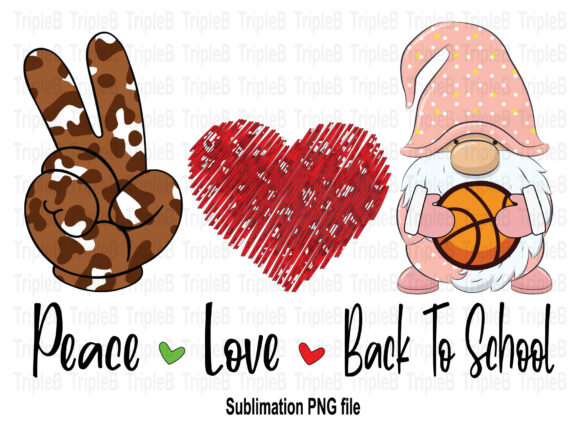
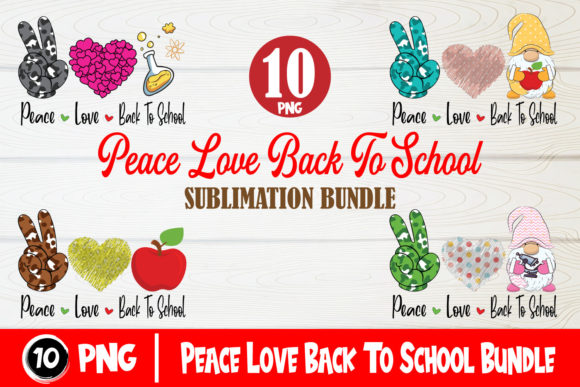
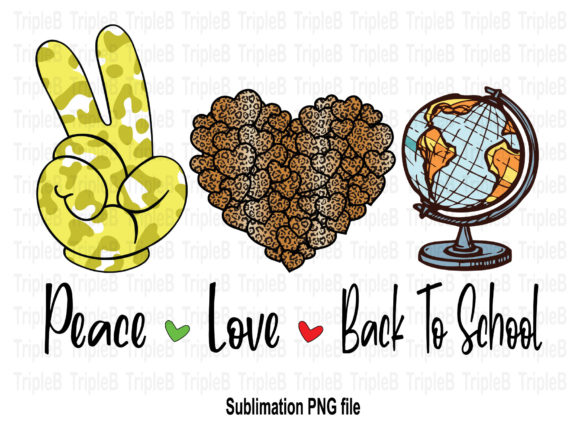
If you have been browsing for back-to-school sublimation designs, you have likely come across the Peace Love Back to School Sublimation 3 set. This digital collection features a groovy, whimsical blend of retro peace symbols, heart motifs, and cheerful gnome artwork geared toward the classroom season. It is an instant download, meaning you get a ZIP file with a single high-resolution PNG file ready for sublimation printing. But as with any digital design, there are details that can trip up beginners and even experienced creators. Understanding what you are actually getting and how to use it properly will save you time, materials, and frustration.
This article walks through common mistakes people make when buying and using these designs. Each point focuses on practical corrections and better approaches so you get the most out of your purchase and avoid wasted prints, confused customers, or disappointing final products.
Mistake 1: Assuming the PNG File Works Straight Out of the Box for Every Method
Because this file is delivered as a single PNG with a transparent background, many people assume it can be dropped into any software and printed immediately for any application. The reality is more nuanced. The design is in CMYK color mode at 4000 x 3000 pixels with 300 dpi resolution. That is excellent for sublimation, but it also means you need a program that correctly handles CMYK and transparency. Free phone apps or basic photo viewers often strip color profiles or flatten transparency, leading to washed-out or distorted prints.
Better approach: Open the PNG in a capable design or print preparation program such as Adobe Photoshop, Affinity Photo, CorelDRAW, or even a high-end free option like GIMP with CMYK support. Verify that your software interprets the image in CMYK before making any adjustments. If you plan to use it for iron-on transfers or other methods, test with a small sample first rather than assuming the file will look the same on your home inkjet.
Mistake 2: Confusing "Instant Download" with "Ready-to-Press Transfer"
The product description clearly states "NO PHYSICAL ITEMS WILL BE SENT" and that you receive a PNG file design. Yet some buyers expect the download to be a finished sublimation transfer ready to place on a shirt. A PNG is not a transfer; it is the design element you need to mirror, size, and print onto sublimation paper using special ink and a compatible printer. Thinking the file is press-ready can lead to trying to use it like a regular print-and-cut sticker or pressing an unmirrored image onto fabric.
Better approach: Immediately after downloading, read the included instructions or any product notes. Sublimation requires you to mirror the image before printing. The transparent background is ideal for layering onto backgrounds, but you must also confirm your printer uses sublimation ink and the correct paper. Test with a low-cost blank before making a batch of products.
Mistake 3: Overlooking the Color Variation Warning and Skipping Test Prints
The product listing includes a note that colors may vary due to screen settings and printing methods. Many buyers ignore this, expecting the same electric pink or warm yellow they see on their monitor. Screens display colors in RGB, while sublimation uses CMYK. Even if the file is CMYK, your monitor's brightness, contrast, and color temperature will shift what you see. Without a test print, you risk producing shirts or signs with muddy tones or unexpected color shifts that clash with your intended palette.
Better approach: Before committing to a large production run, print a small test using the exact sublimation paper, ink, and blank you plan to use. Adjust your printer's color settings based on the result. Keep a record of the corrected settings for future use with the same design. This simple step prevents wasted blanks and dissatisfied customers.
Mistake 4: Misunderstanding Resolution and Physical Print Size
At 4000 x 3000 pixels and 300 dpi, the Peace Love Gnome Back To School Sublimation Designs file offers plenty of detail for most projects. However, resolution and physical print size are often mixed up. A 300 dpi print at 4000 pixels produces about 13.3 inches by 10 inches. If you try to stretch it larger, you lose sharpness and get pixelation. Conversely, printing it much smaller wastes detail and may cause fine lines to blur.
Better approach: Use design software to set the print dimensions based on your blank. If you need a larger print than 13 x 10 inches, consider scaling the design up with vector tracing or creating a pattern repeat rather than simply enlarging the raster PNG. For small items like pencils or keychains, downsizing is fine, but check sharpness at the actual output size.
Mistake 5: Not Checking Compatibility with Your Specific Sublimation Setup
A PNG with a transparent background is standard, but some sublimation printers or software expect a different file type, such as a TIFF or a layered PSD. Other systems require the background to be white rather than transparent. Assuming the PNG will work without confirming can lead to strange halos, missing edges, or rejected files. This is especially common when using cheap or older printer drivers.
Better approach: Open the design in your usual preparation workflow and simulate a print to see how the transparency renders. If your software adds a white background automatically, you may need to remove it or adjust settings. For best results, keep the original PNG as a master file and export copies in the format your printer driver prefers.
Practical Advice for Getting Consistent, High-Quality Results
Now that you know the common pitfalls, here is a streamlined process for using Peace Love Back to School Sublimation 3 effectively.
- Verify your software handles CMYK and transparency. Do not rely on built-in photo viewers or basic editors. Test with a small element first.
- Mirror the image before printing. Sublimation transfers must be reversed. Forgetting this step produces backward text or reversed gnome faces.
- Use a color calibration tool or print a test swatch. Colors look different on every screen, so calibrating your monitor helps, but a physical test is the only true check.
- Do not upscale the PNG beyond its native size. Stick to the recommended 13.3 x 10 inch maximum for crisp results. If you need larger, create a seamless repeat or use vector alternatives.
- Keep the file in its original ZIP archive. This preserves the exact resolution and color settings. Extract a working copy only when you are ready to use it.
- Read the product page carefully each time you buy. Even if you have used similar files before, updates or variations in the listing may affect usage.
Why These Mistakes Cost You More Than Time
Each error above does not just cause frustration; it directly affects your cost and credibility. Wasted sublimation blanks are expensive. Off-color prints mean you throw away materials. Misaligned or pixelated designs look unprofessional and harm your brand if you sell items. By understanding exactly what the PNG file provides and what it does not, you avoid these losses and build trust with your audience.
For teachers, crafters, and small business owners preparing back-to-school products, getting the details right from the beginning lets you focus on creativity and production rather than troubleshooting. The Peace Love Gnome Back To School Sublimation Designs set is a versatile and charming asset when handled correctly. It gives you a ready-to-use design with a transparent background, high resolution, and CMYK color mode. But the key to success is respecting the technical boundaries of the file and your equipment.
Final Thoughts Before You Purchase or Print
Whether you are a hobbyist making a few custom items for your children's teachers or a small business fulfilling dozens of orders, the preparation steps remain the same. Check your printer compatibility, test your colors, mirror your image, and never assume the PNG will perfectly match your screen preview. The file format is reliable, but it demands the correct workflow.
By keeping these points in mind, you turn a simple digital download into polished, professional-looking products that capture the playful peace-and-love spirit of the back-to-school season. The gnomes, peace signs, and hearts are designed to appeal to both kids and nostalgic adults, but only careful use will do them justice. Take the time to set up your process correctly, and you will get consistent, vibrant results every time.