Back to School Gnome: A Practical Tool for Classroom and Creative Projects
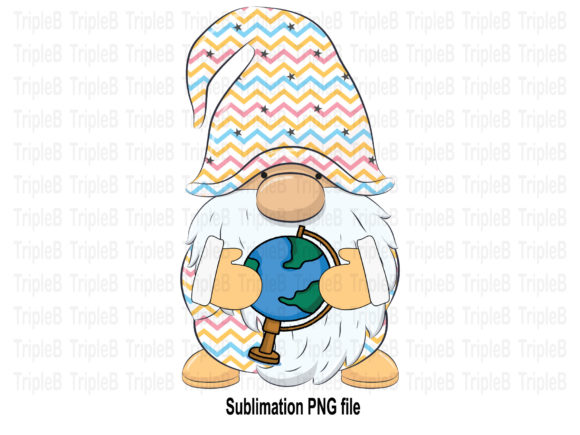
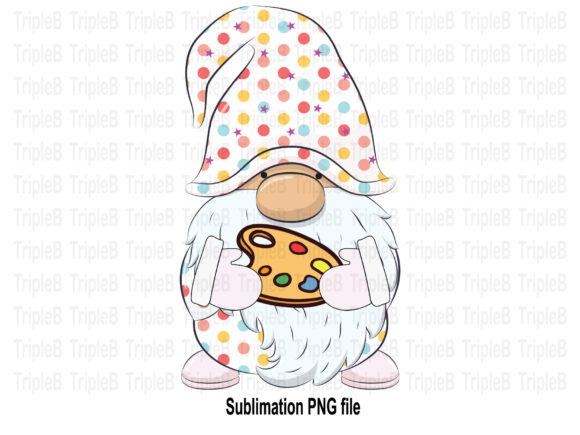
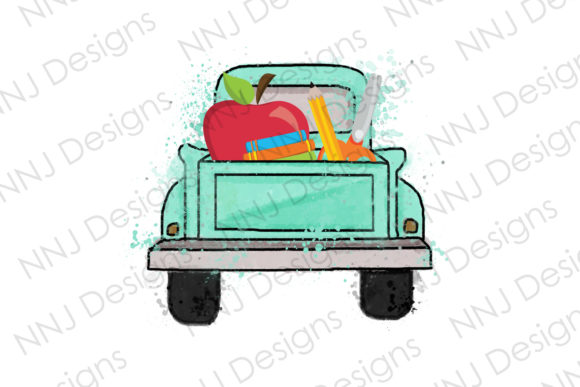
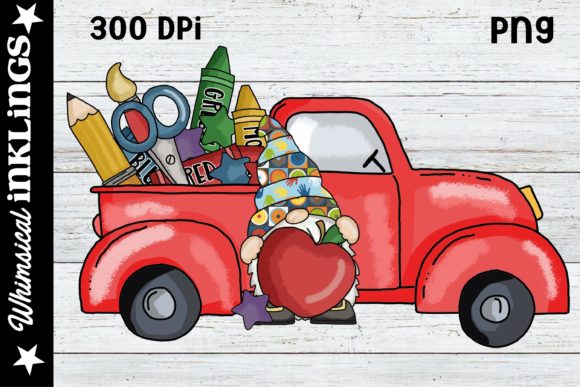
Preparing a classroom or creative space for the new school year involves dozens of small decisions, from lesson plans to décor. Among the tools that simplify this process is Back to School Gnome, a sublimation clipart set designed to help you create a welcoming back-to-school door sign and other projects. This design features a single school gnome holding an apple, seated in front of a red truck loaded with pencils, colored pencils, a brush, and a pair of scissors. The images come in PNG format, making them suitable for signs, decals, and various crafting applications.
This article walks through what this design offers, how it fits into real workflows, and how to integrate it smoothly into your own planning, creation, and execution processes. Whether you are a classroom teacher, a small business owner producing custom décor, or a hobbyist organizing a personal project, understanding the practical role of such assets helps you work more efficiently and produce consistent results.
What Back to School Gnome Brings to Your Workflow
At its core, Back to School Gnome is a ready-to-use graphic asset. The PNG format means you can place it directly into design software, cutting machine interfaces, or print-on-demand templates without additional conversion steps. The gnome and truck composition is self-contained, so you do not need to assemble multiple elements from separate files. This simplicity reduces preparation time, especially when you are working under a deadline—common in the weeks before school starts.
For educators, the design serves as a focal point for a classroom door sign that signals a warm welcome. For crafters and small business owners, it becomes a reusable template for custom orders, seasonal promotions, or product lines. The inclusion of school supplies—apple, pencils, brush, scissors—aligns with the back-to-school theme without being overly generic, which helps your final product feel intentional rather than stock.
Because the files are PNG, compatibility is broad. Most cutting machines, design applications, and print platforms support this format, so you can move between tools without format-related delays. This interoperability matters when you are coordinating multiple outputs—say, a door sign, a matching decal, and a small gift tag—all from the same source file.
Where This Design Fits in a Broader Process
Understanding where Back to School Gnome fits in your overall project timeline helps you use it more effectively. Consider three phases: preparation, execution, and follow-up.
Preparation Phase
Before you open any software, define the purpose of your project. Are you creating a single door sign for your own classroom, or are you producing multiple signs for a client order? The answer determines how you will size, color, and output the design.
Back to School Gnome works well in this phase because its self-contained composition allows you to quickly test placement. Open the PNG in your preferred design tool, scale it to your target dimensions, and experiment with backgrounds or borders. Because the gnome and truck are integrated, you can focus on layout decisions rather than element positioning. This efficiency is valuable when you are managing several projects simultaneously.
If you plan to use a cutting machine, confirm that your software accepts PNG files for trace or print-then-cut operations. Most modern cutting applications do, but checking early prevents rework later. The design’s clear outlines and distinct shapes make it straightforward to trace if needed, though the PNG itself is often sufficient for print-then-cut workflows.
Execution Phase
This is where the actual production happens. For a door sign, you might print the design onto adhesive vinyl or sublimation paper, then transfer it to a substrate like metal, wood, or acrylic. The gnome’s centered composition works well on rectangular or square surfaces, and the truck adds visual weight that balances the sign.
For decals, the PNG’s transparent background simplifies the cutting process. You can load the file directly into your cutting machine software, adjust the cut lines if necessary, and proceed. The school supply details—pencils, brush, scissors—are distinct enough to remain recognizable at small sizes, which is useful for decals that go on laptops, water bottles, or notebooks.
If you are creating physical products like tote bags or T-shirts using sublimation, ensure your printer and paper are compatible with the colors in the design. Run a small test print first to verify color accuracy and image sharpness. This step is quick and saves material waste.
Follow-Up Phase
After production, consider how you might reuse the design. Because Back to School Gnome is a single-file asset, you can archive it with your project files for next year. If your workflow involves reselling or offering custom variations, keep a copy of the original PNG alongside any edited versions. This organization prevents confusion when you need to produce a similar sign for a different class or client.
For business owners, the design can become part of a seasonal product line. Pair it with other back-to-school graphics to create a cohesive collection. The consistent style helps customers recognize your work, which supports repeat purchases.
Practical Implementation Tips
Integrating Back to School Gnome into your routine does not require advanced technical skills, but a few practical considerations improve your results.
File Preparation and Storage
Save the PNG file in a dedicated folder for seasonal or educational assets. Use a naming convention that includes the theme and year, such as back_to_school_gnome_2025.png. This makes retrieval fast when you are working on multiple projects. If you edit the file—for example, adding a name or custom text—save a copy with a distinct filename to preserve the original.
Ensure your software can handle PNG files at the resolution you need. Most design programs allow you to check DPI (dots per inch) in the file properties. For signs and large prints, 300 DPI is standard; for smaller decals, 150 DPI may suffice. The original file’s resolution determines how large you can scale it without pixelation, so test scaling before committing to a final size.
Compatibility with Cutting Machines
If you use a cutting machine like a Cricut or Silhouette, check whether your machine’s software supports PNG import directly. Some applications require you to upload the image, then use a print-then-cut workflow. Others allow you to trace the image to create cut lines. The gnome and truck shapes have enough contrast against the transparent background that auto-trace usually works well, but manual adjustment of cut lines may improve precision for the smaller details like the pencils or scissors.
For decals, consider using a matte vinyl to reduce glare and make the colors pop. Layering the design with a white or light-colored background can also help the details remain visible on darker surfaces.
Color Consistency
If you are producing multiple items from the same design, color consistency matters. Calibrate your monitor and printer to the same color profile, and use the same paper or vinyl brand across all items. The design’s colors are likely optimized for general use, but small adjustments in hue or saturation can make a difference when matching a classroom theme or brand palette.
For sublimation, test the color shift that occurs during heat transfer. Some colors become slightly darker or more vibrant after pressing. A small test piece using the same substrate and temperature settings gives you confidence before committing to the final product.
Workflow Examples
Seeing how Back to School Gnome fits into actual scenarios helps clarify its value. Here are three common workflows.
Classroom Teacher Creating a Door Sign
A teacher preparing for the first day of school wants a welcoming sign for the classroom door. They download the PNG, open it in a simple design tool, and add the teacher’s name and grade level below the gnome. They print the design onto adhesive vinyl using a standard inkjet printer, then apply it to a pre-cut acrylic sign board. Total time from download to installation, including drying: about 45 minutes. The sign is used all year and stored for reuse the following fall.
Small Business Fulfilling a Custom Order
A small business owner receives an order for a set of back-to-school decals for a local PTA. They import the PNG into their cutting machine software, duplicate the design to fill the cutting mat, and run a print-then-cut session. The decals are applied to clear water bottles and donated as welcome gifts. The single file allows them to produce 30 identical decals in under two hours, with consistent quality across all pieces.
Freelance Graphic Designer Building a Seasonal Template
A freelance designer creates a reusable template for social media posts and printable signs. They drop the Back to School Gnome PNG into a layered design file, add placeholder text fields, and save it as a template for clients. When a client requests a personalized sign, the designer swaps the text and exports a new PNG in minutes. The template reduces repeat work and allows the designer to offer a quick turnaround.
Long-Term Use and Organization
Assets like Back to School Gnome are most valuable when they remain accessible and usable over time. Develop a system for storing digital files that prevents clutter. Tag or folder-sort by theme, year, and format. If you own multiple gnome designs, keep them together so you can compare or combine elements later.
Consider how you might repurpose the design for other occasions. The gnome and truck composition could be adapted for a “welcome” sign for a new student mid-year, or for a reading corner decoration. Because the file is PNG, you can resize it without losing quality, making it suitable for both large posters and small name tags.
If you sell products made from this design, document the production settings you used—printer profile, paper type, heat press temperature, cutting machine settings. This record saves time when you need to reproduce an identical item months or years later. Consistency is a competitive advantage in a market where customers expect the same quality every time.
Quality Control and Consistency
Even with a ready-to-use design, quality control matters. Inspect each output for alignment, color accuracy, and edge sharpness. For decals, check that the cut lines follow the design’s contours without straying into transparent areas. For printed signs, verify that the text or additional elements you added do not overlap the gnome or truck in unintended ways.
When producing multiple copies, compare the first and last item to ensure no drift occurred during the production run. This is especially relevant for sublimation where temperature or pressure variations can affect the final appearance. A simple checklist—alignment, color, cut, finish—keeps your output consistent and reduces returns or rework.
Back to School Gnome simplifies the creative process by providing a single, well-structured asset that works across common production methods. By integrating it thoughtfully into your preparation, execution, and follow-up phases, you save time, reduce waste, and deliver results that meet your standards. Whether you are a teacher, a business owner, or a creative professional, this design is a practical addition to your toolkit for the back-to-school season and beyond.